DIY Frame Index:
Stainless Steel Frame this post
____________________________________________________________________________________________________
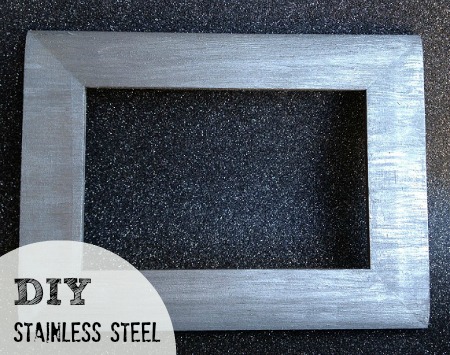
I’ve seen many people attempt to paint a metal looking surface. Most of the time the one thing they are missing when attempting this look is texture. Stainless steel has a natural grain to it. Using a flat spray paint will give you the color of the metal, but not the texture. I’m going to show you how to get the look without paying the stainless steel price.
Supplies:
Frame
Martha Stewart Crafters Clay Nature Kit
M.S. Patterning Brush Set
M.S. Paint in Arrowhead
M.S. Paint in Metallic Brushed Pewter
M.S. Paint in Metallic Titanium
M.S. Paint in Beetle Black
Stainless Steel Frame How To:
When I work on a paint technique and I need colors to really work together, I’ll buy all of that color scheme.
In this case, I bought all of Martha Stewart’s grey palate that I saw in multi-surface paint. Three are metallic, the others are not.
I painted a section of each on a paper plate and let it dry before I decided on what colors I was going to use. For this project, I ended up using 3 of the colors.
Let’s talk about brushes for a moment.
For this technique, it’s important to be able to produce fine lines. These 2 brushes are perfect for this technique.
You’ll see why.

1) I started by putting a coat of Arrowhead on the frame (not pictured)
I then poured the other two colors on a plate ready to go.

2)With this brush add some of each color on the frame. It doesn’t have to be exact but try to put the colors in as straight of a line as you can. The grain of stainless steel runs one way. Choose which way you want the grain to go and only brush in that direction. I painted from left to right.
You have to do this somewhat quickly because you don’t want the paint to dry before you get to the next step.

3) The next step is where you really see it come to life. Take the “feather brush” and pull the paint from left to right. Again, try to do this with as straight lines as you can. Maybe only have 3 cups of coffee that morning. It’s the straight lines combined of the two colors that give it the depth and texture of stainless steel.
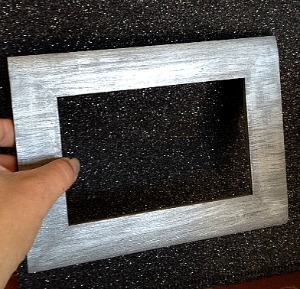
The sun was coming in the window.
Totally looks like metal right?
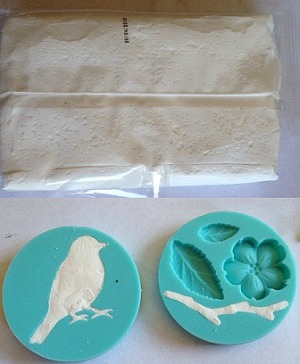
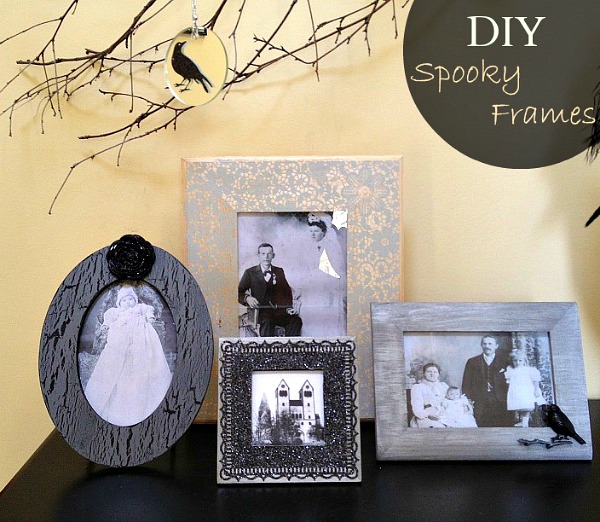
I decided to embellish this frame with a crow and branch. Just smoosh the clay into the mold and let set. Instead of using my hairdryer trick on this, I really did let it set for 24 hrs. Look at those bird feet. They are TINY.
I had doubts that I would get bird out with feet.
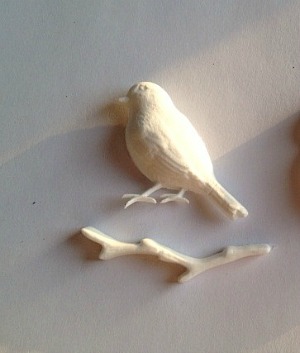
The next morning, sure enough, the whole bird came out with feet.
I painted the bird beetle black and the branch with Arrowhead.
I attached them to the frame with hot glue.
Voila.
____________________________________________________________________________________________________
Disclaimer: I was sent Martha Stewart crafts. I’m not going to lie, it was a box of awesome. I may have already framed the box in a gilded frame. I used the mold clay kit they gave me on this project. The rest of the items I already had or purchased with my own money. I wasn’t told what to craft or what to use. I didn’t have to write four different craft posts but let’s be honest, who could get through one post with all of that? Also? Overachiever. And I don’t think I expressed any opinions, but if I did, I think we know they’re mine. So there.

